
Endpoint Testing Made Easy: Using Postman with Mock Servers
In the world of web development, testing your API endpoints is a critical step that can significantly impact your app’s reliability. With Postman’s mock servers, developers can simulate endpoints and set expectations for different scenarios without writing any server code. This article explores how to use Postman’s powerful mock server feature to streamline the testing process.
1. Getting Started with Postman Mock Servers
Postman is a popular API testing tool that allows developers to organize, run, and document requests. To leverage its mock server feature, first ensure you have Postman installed. Begin by creating a new Postman collection. This collection will hold the requests and responses needed for testing various endpoints.
{
  "info": {
    "name": "API Test Collection",
    "description": "Collection for API endpoint tests",
    "version": "1.0"
  },
  "item": [
    {
      "name": "Get User",
      "request": {
        "url": "https://example.com/users",
        "method": "GET"
      }
    }
  ]
}
This JSON structure represents a simple API collection with one endpoint. Adding more endpoints is straightforward and helps organize your testing suite.
2. Creating a Mock Server
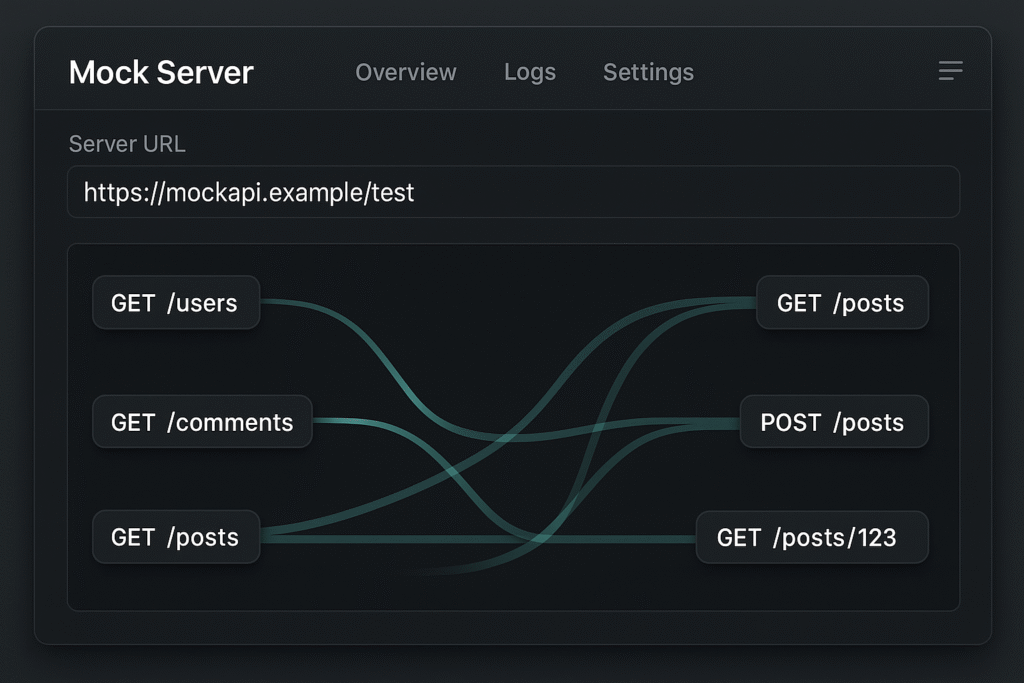
To create a mock server in Postman, go to your collection and select ‘Mocks’. Click on ‘Create a Mock Server’. You’ll need to specify the collection and environment associated with the mock server. Postman will generate a unique mock URL and allow defining rules based on request parameters.
Once the mock server is set up, you can specify responses based on request parameters, headers, and HTTP methods. For example, if you have a ‘Get User’ endpoint, you can customize responses based on different user IDs:
{
  "request": {
    "method": "GET",
    "url": {
      "path": ["users", "{{userId}}"]
    }
  },
  "response": {
    "body": "{\"id\": \"{{userId}}\", \"name\": \"User {{userId}}\"}"
  }
}
This setup supports dynamic responses, ensuring that different test scenarios are handled with ease.
3. Defining Mock Responses
Deciding what your mock responses should be is critical to effective testing. Use real-world data or closely simulated datasets to ensure your endpoints behave as expected. In Postman, you can specify status codes, response bodies, headers, and response times. Example:
{
  "status": 200,
  "responseTime": 250,
  "headers": {
    "Content-Type": "application/json"
  },
  "body": "{\"success\": true}"
}
Such flexibility ensures your frontend developers can test all edge cases and make necessary adjustments before the backend service goes live.
4. Testing and Validating Mock Endpoints
With your mock server set up, you can proceed to test the endpoints by sending requests and asserting the responses match expected outcomes. In Postman, you can write tests in JavaScript under the ‘Tests’ tab:
pm.test("Status code is 200", function () {
  pm.response.to.have.status(200);
});

pm.test("Check response body", function () {
  const responseJson = pm.response.json();
  pm.expect(responseJson.success).to.eql(true);
});
These tests ensure the mock server fulfills the requirements and helps reveal issues that could arise in production.
5. Advanced Tips for Effective Mock Testing
Take advantage of Postman’s environment and global variables to modify requests dynamically. They are incredibly useful for simulating different environments or configurations. Additionally, for larger teams, Postman’s collaboration features help in keeping everyone on the same page. Consider using Postman’s API documentation feature to maintain clarity in your API’s structure and expected behaviors.
Finally, remember to periodically review and update your mock responses to align with the actual API development. This practice ensures your tests remain valid and beneficial.
By utilizing Postman’s mock server capabilities, you can effectively test your API endpoints and ensure that your final product is as reliable as possible. Happy testing!
Useful links: